An Easy Drawing Dean Winchester That People Has Already Draw
In this Tutorial I'll be showing you how to draw Dean Winchester/Jensen Ackles.
Materials:
- pencil
- paper
- ruler
- colored pencils (if you later want to color it in)
- reference picture


Reference picture
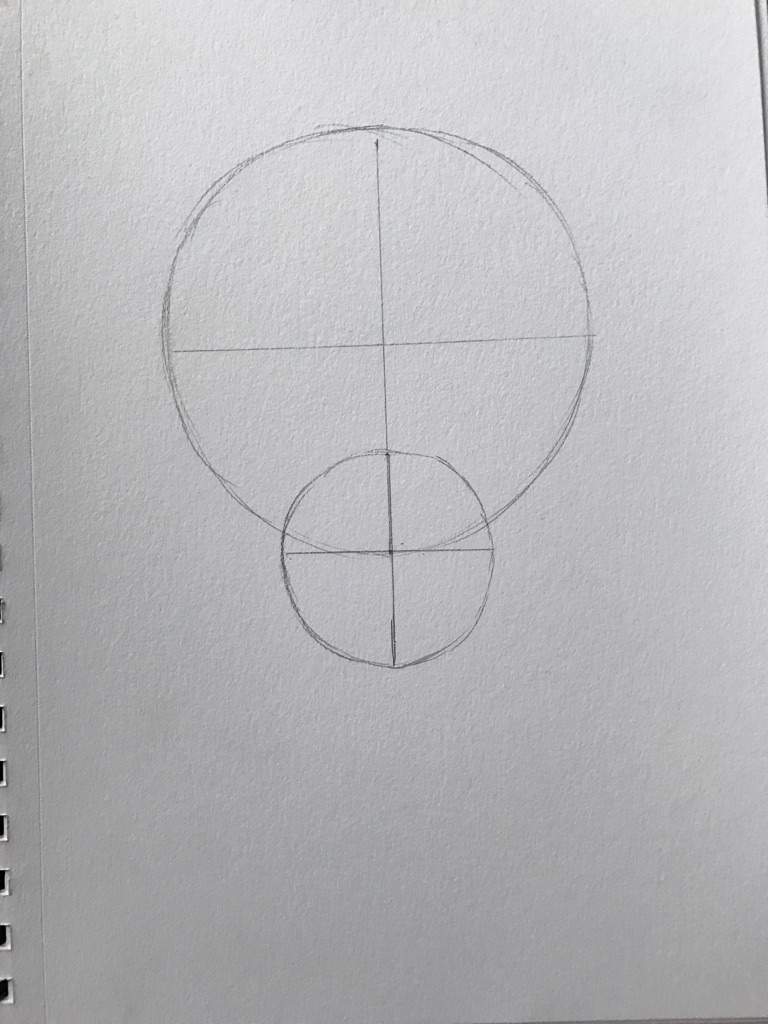
Step 1: Face Structure
To get the basic face structure you'll be drawing two circles. For my measurements I'll be using one circle with the radius of 2 in. (Top) and another with a radius of 1 in. (Bottom). You do not have to use these exact measurements just be sure the bottom has half of the radius of the top one. You want the two circles to overlap at about 1 in.
Step 2: Jaw Line
To draw the jaw line you'll want to start out with something simple and then work off the reference picture to adjust.

Now no jaw line is ever going to be that perfect so...we adjust.

Best and the worst part of DRAWING Jensen Ackles: his even facial structure. So be sure nothing is dipping out of proportion.
Step 3: Eye Grid
Eyes are some of the most important parts of a drawing. It can really make or break a portrait. So you want to start with the line you already have and for Jensen specifically you want to go down about half of an inch.

Then allow about half an inch between the beginning of the eyes.

Then an inch away from that should be the end of the eye.

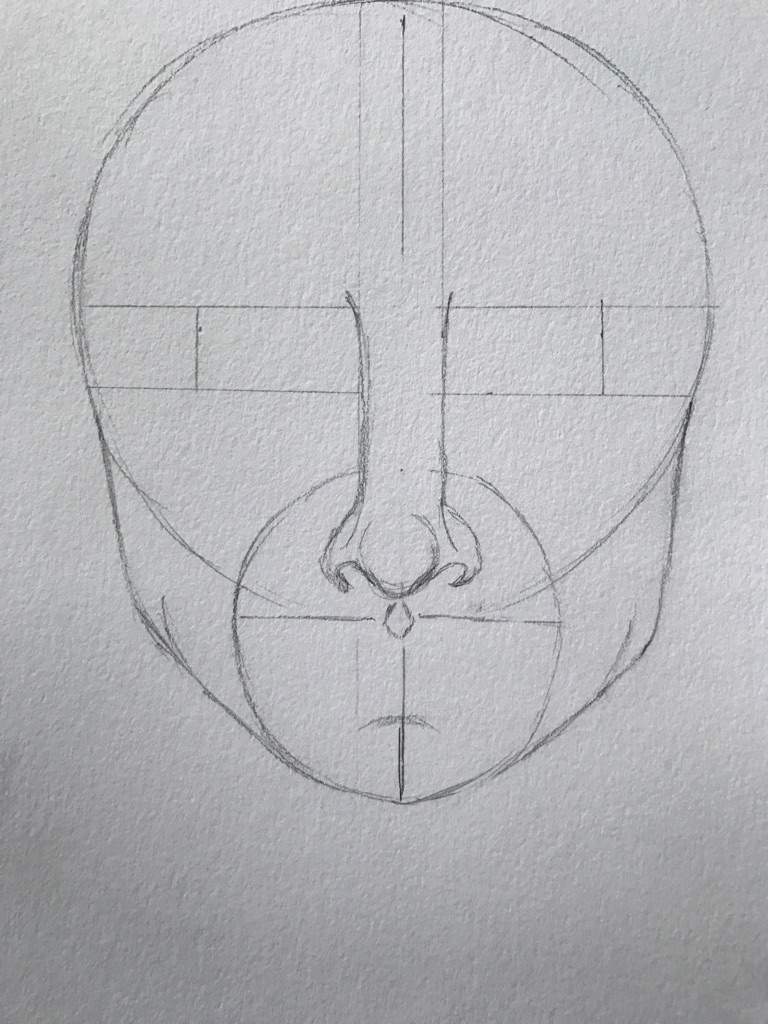
Step 4: Nose
I always start with the nose no matter who I'm drawing. It just makes things simpler for me. So when grinding out the nose I used a circle with a diameter of 1/2 an inch. Again these measurements will vary depending on the size you choose.

I had to adjust my nose based on the reference picture but you always always want to end just above the eye grid.

Step 5: Mouth & Cupids Bow
The Cupids Bow is going to start just a little bit below the nose. It will always be centered. Well hopefully. It will look like a small rounded diamond.
The lips are going to start right below the Cupid's bow. The dip in the middle will match up with the bow but not touch it. Each lip should go out about 3/4 of an inch from the center.
Step 6: Hairline
I like to do my eyes last so I can spend as much time as I feel necessary on them. So next is the hairline. You're going to start 1 1/4 inch down and that's about where the little jut put will be on both sides. Other than that you'll just have to follow the reference picture.

Erase lines as you go. It makes it easier once you get closer to the end. Then draw a simple out line of the hair. Nothing too fancy just a quick guide for future reference.

Step 7: Ears
Jensen has some great and easy-to-draw ears. Seriously. Start right where your top line is for your eye grid and go up just where the juts meet and then draw it down until it hits the crevice of the nose. Like so.

Then add the small details based on the reference picture you chose.
Step 7: Eyebrows
Eyebrows start at the nose bridge that you drew earlier. You should've went just above the nose and that's the start to your eyebrows. They should also go just a little bit past the one inch line that marks the eyes.

Step 8: Eyes
The worst and most difficult part by far. As you can see in previous pictures I've already done one of mine. Yikes. But you're going to start by making a mark 1/8th of an inch from the nose.

The eye in total should be about 3/4ths of an inch long. I marked that as well. And the rope of the crevice closest to the nose should be the bottom of the crevice farthest away from the nose so I made my mark on that line.

Now the eye should be about 1/4th of an inch in height. Then you draw the eye. This may take a few different outlines to get it just right so be patient and draw lightly. Then draw the pupil and the iris.

Then go in just below the eyes and draw a slight bag. And go above the eye and draw the eyelid which should be just a little geometric.

Step 9: Details
Details are what makes a drawing so don't leave these out! Make an outline of his beard and be sure to capture his jawline. AND THE CROWSFEET ARE IMPORTANT

Step 10: COLOR!
Have fun with this! Do some Andy Warhol-esque or just do normal colors! Congratulations you've finished!

Message me yours! And if you're going to post it be sure to give me credit! Thanks for looking and be sure to message me if you want any other tutorials or specific ones.
Source: https://aminoapps.com/c/supernatural/page/blog/how-to-dean-winchester-jensen-ackles/zKCx_uDV8qbRKEdezmlqKLk1z0gq4W
0 Response to "An Easy Drawing Dean Winchester That People Has Already Draw"
Post a Comment